Principles and advantages and disadvantages of radiographic inspection
Radiographic inspection is a method of using a certain ray to check for defects inside the weld.Commonly used rays are X-rays and gamma rays.X-rays and gamma rays can pass through metal materials to varying degrees,and produce photosensitivity to photographic film.With this property,when the radiation passes through the inspected weld,the strength of the radiation is different due to the weld defects,so that the intensity of the radiation on the film is different,and the degree of film sensitivity is different,so that it can be accurate and reliable.The shape,position and size of the defect are displayed non-destructively.
The X-ray transillumination time is short and the speed is fast.When the thickness is less than 30 mm,the sensitivity of the display defect is high,but the equipment is complicated,the cost is large, and the penetration ability is smaller than the γ-ray.
γ ray can be transparent to 300mm thick steel plate.It does not need power supply during transillumination,which is convenient for field work.It can be exposed once in the ring seam,but the transillumination time is long and it is not suitable for transillumination of components smaller than 50mm.

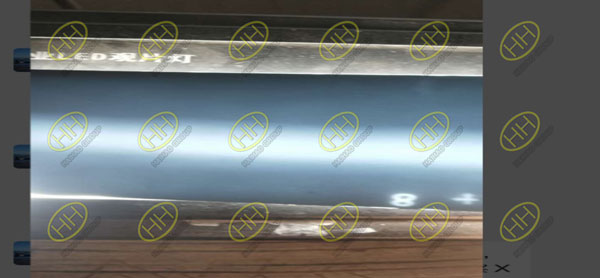
Haihao Group is checking the film to judge the defect
Principle of radiographic inspection
The thickness or density of each part of the object to be measured varies depending on the presence of the defect.When X-rays or gamma rays penetrate the object,the extent to which the rays are absorbed will also differ.If the original intensity of the ray is a material having a thickness of t after the line absorption coefficient is μ,the intensity is attenuated to I by being absorbed,and the relationship is that if the ray absorbed to different extents is projected onto the X-ray film.A photo (X-ray film) showing changes in the thickness of the object and internal defects can be obtained after development.This method is called X-ray photography.If you use a fluorescent screen instead of film to directly observe the object under inspection,it is called perspective. If the photosensitive element is used to measure the intensity of the transmitted light by point-by-point,it is called an instrument measurement method.

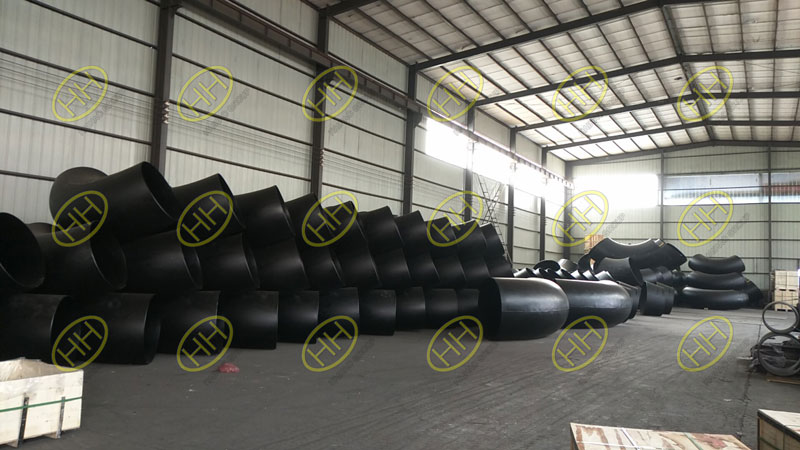
EN 10253-2 carbon steel 90 degree elbows and concentric reducers
Advantages and disadvantages of radiographic inspection
Radiography can visually display the size and shape of defects inside the workpiece,so it is easy to determine the nature of the defect.The ray film can be used as the original record of the test for multi-party research and long-term preservation.However,the cost of X-ray film and other equipment consumed by this method is relatively high,and the inspection speed is slow.It is only suitable to detect volume defects such as pores,slag inclusions,shrinkage holes,looseness,etc.,which can be qualitative but not quantitative,and is not suitable for use.The structure of the cavity,the inspection of the fillet weld and the T-joint is low,and it is difficult to find cracks and unfused defects such as small gaps and internal delamination defects of the forgings and tubes and rods.In addition,radiation is harmful to the human body and appropriate protective measures are required.
In the video,our company has recently performed radiographic inspections for a number of pipe fittings,using X-rays.No welding problems were found after the inspection.The product has a 90 degree elbow and a 45 degree elbow,the size is 1219 and 914,and the caps of 1219 and 914,and the concentric head of 1219*914 are made according to the European standard 10253-2.Customers are very satisfied with our products.If you want to know more about our piping products,please email us:sales@haihaogroup.com

